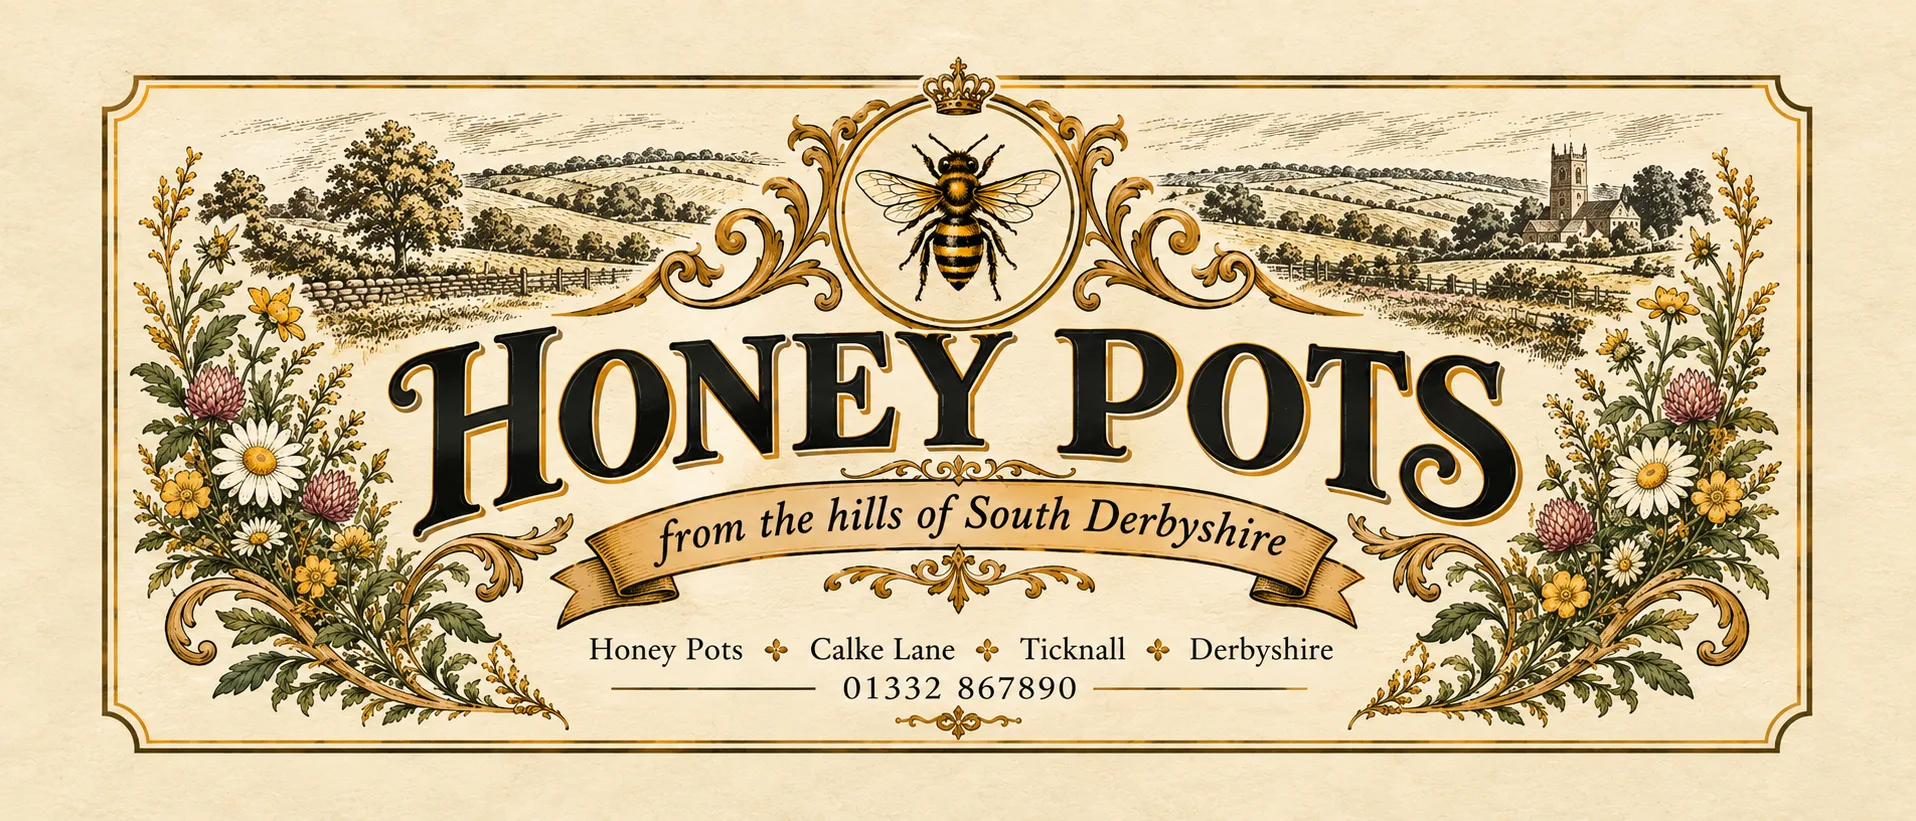
AI Label Design: How To Get a Usable Concept From ChatGPT
AI label design has gone from novelty to genuinely useful in the recent months of 2026. You can now describe a label in plain English and get back something that looks like a finished product. That is a huge opportunity, but it is also a risk filled with pitfalls.
AI will give you a convincing concept in minutes, and it can do it at the dimensions you ask for. What it will not do is check whether what you typed is correct, leave room for a bleed, or hand you a file you can edit afterwards. Understanding those three gaps is the difference between a useful starting point and an expensive mistake.
Positive ID Labels print labels for food producers, drinks brands and manufacturers across the UK. We increasingly receive AI-generated artwork from customers that absolutely does not meet with industry standards or our own artwork guidelines. So here is the method that works, including prompts you can copy.
AI Label Design Disclaimer
When you use AI to do AI label design work, the outcome varies every time you do it. This guide may give results that you feel are inadequate or wrong. That is because AI is basically a guessing engine, so results will always vary. Start 2 sessions, give them the same prompts and you get different outcomes.
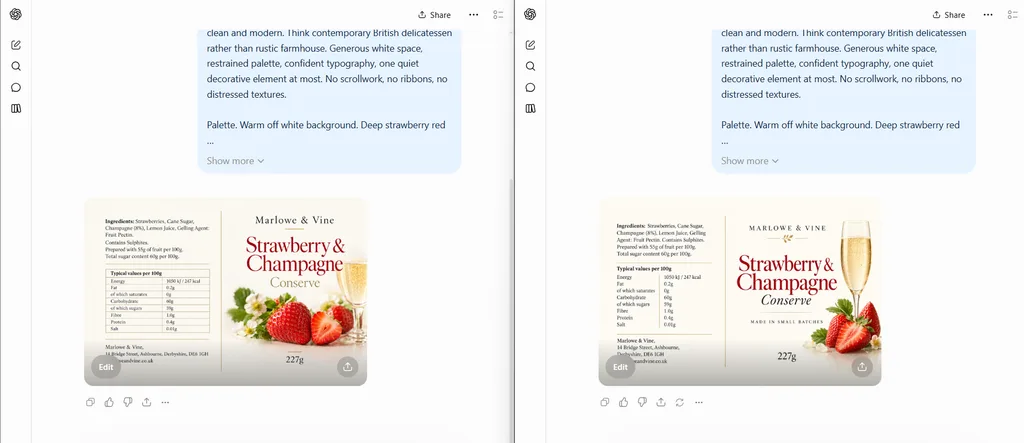
NOTE: All imagery in this article is for illustration only
Make sure you read this entire guide before starting!
AI Label Design Starts With the Physical Label
Almost everyone starts by describing the look of the label they want. That is the wrong first step.
Start with the measurements or ratios, because every later decision depends on them.
For any label, you need two numbers: the label height and the width, which for a wrap-around label is the container circumference (minus a small overlap if you want). Measure the container rather than trusting the supplier listing and figure that size out first.
Our conical container labelling tool can help you with this.
Write those down as width by height in millimetres, as you would read the label on the object. A typical honey jar label might be 140mm wide by 60mm tall. A jam jar might be 145 by 65. If you are unsure what size suits your container, call 01332 864895 and we will work it out with you.
Use this handy label size calculator to help you deliver great AI label designs.
Label Size Calculator
Pick a shape, then drag on the grid or type the dimensions. Bleed and safe area are worked out for you.
Label size
Your three sizes
Build artwork to the bleed size. It gets trimmed to the finished size. Keep text and logos inside the safe area.
Tell an AI tool to keep text and logos at least 10% in from every edge and the result will clear the trim comfortably.
Die line exports as an RGB preview. Set the spot swatch and overprint in Illustrator.
For AI image tools
Turning Your Measurements Into an Aspect Ratio
AI label design image generators think in ratios, not millimetres, so convert. A 140 by 60mm label is 140:60, which simplifies to 7:3. Most tools will accept the unsimplified figures.
One ceiling is worth knowing. Most stop at around 3:1, so a long thin wrap-around label can fall outside what they will produce.
| Tool | Ratio control | Practical limit |
|---|---|---|
| ChatGPT | Custom dimensions, both edges in multiples of 16 pixels | 3:1 either orientation, maximum edge 3840 pixels |
| Midjourney | The --ar parameter, whole numbers only | Wider range, up to 4:1 at high definition |
| Gemini | Ten preset ratios plus a resolution setting | Presets only, no arbitrary ratio |
A 60 by 140mm jar label is 2.33:1 and sits comfortably inside all of them. A 50 by 200mm bottle wrap is 4:1 and does not.
Resolution is rarely the problem people expect in AI label design. Labels designed in pdfs are delivered at 300dpi. Images from AI image generators are built at 72 to 96dpi with large dimensions up to 8K (3820 pixels). At 3840 pixels on the long edge, an AI-generated image can be compressed down and deliver an effective 300dpi up to 725mm long without compromising image resolution.
So, down to business – how to prompt AI label design – the secret sauce to getting a great label for your product.
Writing the AI Label Design Prompt: A Template for AI Label Design
This is the part worth copying. Fill in the brackets and delete what does not apply.
Design a [label type] label.
Dimensions. The finished label is [W]mm wide by [H]mm tall. Generate the image at an aspect ratio of [W]:[H].
Safe area. No text, logos or important detail within [X]% of any edge. Keep that outer band as plain background colour or background imagery only, with nothing that matters inside it.
Brand. The brand is [name]. The strapline is [strapline]. The style should be [rustic, minimal, ornate Victorian, modern clean].
Layout. [Describe panels if you want them. For example: split into three panels, with the product name and illustration in the centre, ingredients on the right and nutrition on the left.]
Text to include, exactly as written. [Paste your text here and tell it if it belongs in a particular area.]
Business details. [Name, address, website, phone number.]
Important. Use only the text I have supplied. Do not invent or add any ingredients, weights, nutrition figures, claims or certifications.
That last instruction matters more than anything else in the prompt, and the reason becomes clear below.
The Second Prompt: Adding Bleed to AI Label Design
Here is a limitation nobody warns you about. The tool treats your dimensions as the whole canvas. It has no concept of anything being trimmed off.
Ask for a 1.5mm bleed in your first prompt, and it will acknowledge the request and then ignore it, because bleed is a printing idea rather than a picture idea. You will get artwork that runs right to the edge of the image, which is exactly what you cannot send to a printer (unless you have an unprinted border).
The fix is a second prompt, after you are happy with the design:
Reduce the artwork to [x]% of its current size and pad all four edges with the matching background colour, keeping the overall canvas the same size.
Replace the x number with at least 10% – but also use our tool above to help.
That gives you background around the whole design, which is what a bleed actually needs. Check the result, because the padding is approximate rather than measured, and tell us the finished size you want so we can trim to it accurately.
Working Out the Safe Margin for AI Label Design
At best, if you don’t know about bleed, you won’t know about safe space in AI label design. The safe margin is the one figure people guess at, and guessing goes wrong because it is not a constant. It depends on the shape of the label.
Work it from the artwork rather than from habit. On a 120 by 80mm label with 1.5mm bleed and a 2mm safe edge, the margin comes out at 10%. Keep the same bleed and safe settings but change the proportions and the figure moves considerably:
| Finished label | Safe margin to ask for |
|---|---|
| 100 x 100mm | 8% |
| 120 x 80mm | 10% |
| 140 x 60mm | 13% |
| 200 x 50mm | 16% |
The shorter side drives it, because a fixed margin in millimetres eats a larger share of a narrow label. Ask for 10% on a wrap-around label, and your text will sit far too close to the trim.
Our label size calculator does this arithmetic and gives you the percentage to paste straight into a prompt, along with the three sizes you need.
The AI Label Design Mistake That Looks Finished
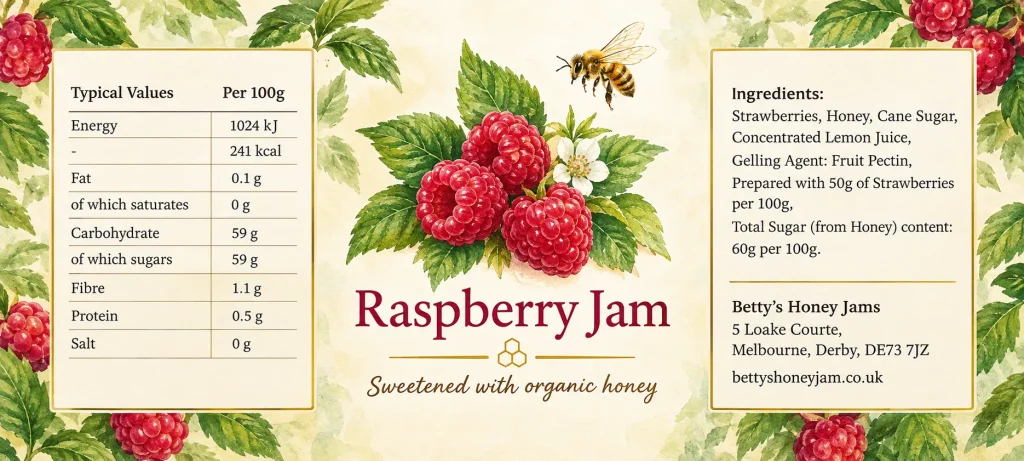
We tested this ourselves with a raspberry jam label. The result was handsome: watercolour fruit, a neat nutrition table, three balanced panels, clean typography.
It also said Raspberry Jam across the front while listing strawberries in the ingredients panel, twice an error made by us on purpose to prove a point.
That error came from the prompt. The ingredients were pasted in with strawberries, and the AI reproduced them faithfully alongside the raspberry title it had also been given. It did not flag the contradiction. It typeset it, beautifully. It did as it was told.
This is the real danger of AI label design, and it is not bad output. It is plausible output. A rough sketch with the wrong fruit looks like a rough sketch. A polished label with the wrong fruit looks finished, and finished things get approved.
The same label was also missing its net quantity, which is mandatory, and left no space for a lot code or best-before date.
AI does not know UK food labelling rules. It does not check your allergens, your weights or your claims. It lays out what you gave it, at a standard that makes mistakes look authoritative.
The Technique That Solves Most of These Problems
If you take one practical method from this guide, take this one.
Generate the background and branding only. Leave the text out entirely. It is the single most useful change you can make to an AI label design workflow.
Ask the AI for the illustration, the background texture, the border, the ornament and the brand mark, with no body text at all. Then set every word yourself afterwards, over the top, in a design tool.
That single change fixes four problems at once. Your text becomes editable, so a corrected ingredient or a changed phone number is a two-minute job rather than a regeneration. Your type is set in a real font, so it matches your brand and can be measured against the legal minimum size. Nothing gets invented, because the AI never sees your ingredients. And the mandatory information is laid out by someone who knows what has to be there.
It also tends to look better, because AI label design produces approximated letterforms rather than set type, and the difference shows at small sizes.
The prompt change is simple. Add this line:
Do not include any body text. Produce the background, imagery and decorative elements only, leaving clear space where text will be added later.
Keep the brand name in the AI version if you want it as a stylised piece of artwork. Keep everything else out.
Free Software for Finishing AI Label Design Work
You do not need Adobe to finish an AI label design. Three free tools cover it between them.
A workable free route rather than AI label design is to prepare the image in GIMP, lay out the label in Scribus, and use Inkscape for any vector drawing along the way. Or use them with outputs created with AI.
What You Can and Cannot Do With the AI Label design Result
You will get a flat image. A PNG or JPEG, in RGB, with every piece of text baked permanently into the picture. That is fine for showing a customer or testing a concept. It is not an artwork file and a real short-coming of AI label design.
Change a phone number and you regenerate the whole label and get a different design. Correct an ingredient and the same thing happens. Nothing is editable, nothing is separable, and the colours are screen colours rather than print colours.
So treat AI label design output as a concept, not as artwork per se. It is a very good way to answer “does this idea work” and a poor way to answer “is this ready to print”.
Where We Would Not Use AI Label Design at All
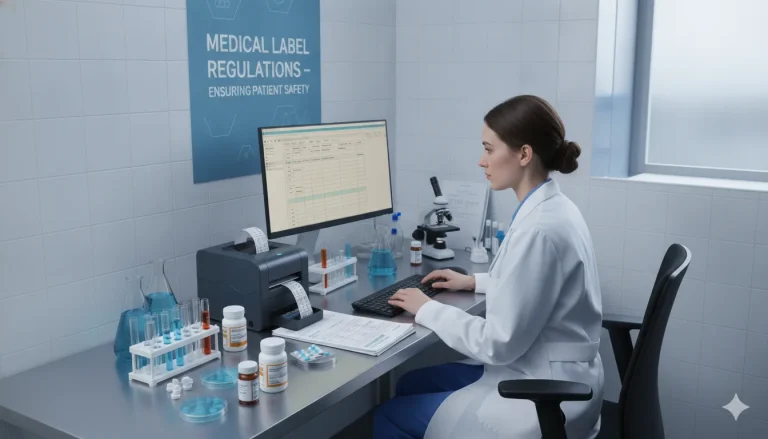
Some labels carry legally mandated content where the layout itself is prescribed. Chemical labels under CLP need correctly proportioned hazard pictograms, specific signal words and precise phrasing. Vape and e-liquid labels, pharmaceutical labels and anything carrying safety information fall into the same category.
Use AI label design for the look of those if you like. Do not let it near the regulated content. If you are not certain which category your product falls into, ask us on 01332 864895 before you start.
Frequently Asked Questions
Can AI generate a label at an exact size in millimetres? It generates to an aspect ratio rather than a physical size. Give it your width and height and it will produce the correct shape, then the image is scaled to your actual dimensions at print stage. The shape is what matters at the generation step.
How many pixels does my AI label design need for printing? Work it out from the finished size rather than trusting any dpi figure attached to the file. A quick rule: multiply the label’s longest side in millimetres by 12 to get the pixels you need for roughly 300dpi. A 140mm wide label needs about 1,680 pixels across. For 360dpi, multiply by 15 instead.
My AI image says 72dpi. Is that a problem? Only if the pixel count is too low. The dpi figure stored in a file is just a label and means nothing on its own, because the same image can be any dpi depending on the size you print it at. What matters is pixels divided by physical size. A 72dpi file does need five times the dimensions to reach 300dpi at the same physical size, which is exactly why you should request the largest output your tool allows.
What is the biggest label AI can produce at print quality? With a maximum edge of 3,840 pixels you can cover a 720mm label at 300dpi, more than enough for most products. The trap is accepting a default output of around 1,000 pixels, which across a 140mm label works out at roughly 186dpi and will look soft.
How do I set the bleed and safe area in the prompt? Treat them as two separate things. Bleed is extra artwork beyond the trim line, usually 1.5mm, which you add afterwards by shrinking and padding. Safe area is the margin inside the trim where nothing important should sit.
Because AI placement is approximate, give the figure as a percentage rather than a measurement. The percentage is not fixed: it depends on the label’s proportions, and a narrow label needs a much bigger margin than a square one. Our label size calculator works it out for you.
Can I convert an AI label image from RGB to CMYK with free software? Scribus will do it. Import your artwork, lay out the label, then export a PDF with the output intended for a printer and Scribus converts the colours on the way out. GIMP and Inkscape have little or no CMYK support, so neither is a reliable route on its own. Honestly though, it is usually better to send us the RGB file and let us convert it with the correct profile for your material and press, because a rough conversion loses more than it gains.
What can I not change once the image is generated? Anything inside it. Text, colours, the position of elements, the size of a panel. There are no layers and nothing is separable, so every change means regenerating and accepting a different result. That is the single strongest argument for leaving the text out of the AI step entirely.
Why does my AI label design have no bleed even though I asked for it? Because the tool treats your dimensions as the whole image rather than the trimmed size. Generate the design first, then use a second prompt asking it to shrink the artwork and pad the edges with background colour.
Can you print directly from an AI-generated image? Often yes for a simple design, provided the pixel count is high enough and there is background to trim into. Send it to us and we will tell you honestly whether it will print well or needs rebuilding.
Will the colours match what I see on screen? Not exactly. AI label design output is in RGB screen colour and printing uses CMYK inks, so some bright screen colours cannot be reproduced on press. Strong brand colours are worth discussing before you commit.
Which free design tools should I use to finish the job? Inkscape for vector work and setting text, GIMP for scaling and padding raster images (jpeg, pngs etc.), and Scribus for laying out the label and exporting a print ready PDF. All three are free, and between them they cover everything you need.
Is AI label design artwork good enough for a supermarket listing? As a concept to show a buyer, often yes. As production artwork, usually not, because retailers expect editable files, correct colour handling and mandatory information laid out properly. Use it to win the conversation, then have the artwork built properly.
Bring Us Your AI Concept
We are happy to receive AI label design artwork. It tells us what you want far better than a description does.
Send us what you have made and we will tell you plainly whether it prints as it stands, what needs changing, and what the mandatory information requires. If it does not work, we will explain why rather than quietly fixing it and charging you for the privilege.
Call 01332 864895 or send your AI label design file through the enquiry form. Press-ready artwork is processed at no charge, and we quote a fixed price over the phone rather than an estimate that changes later.