Welcome to our TSC Thermal Printer installation guide! Setting up your TSC printer is an essential step to ensure seamless and efficient printing for your business needs. Whether you are installing the printer for the first time or need a quick refresher, our step-by-step instructions are designed to make the process straightforward and hassle-free. From unpacking your device to connecting it to your system and configuring settings, we’ve got you covered.
Follow this comprehensive guide to get your TSC thermal printer up and running in no time, ensuring optimal performance and reliability for your operations.
Do not install anything from included CD (if included)
Prerequisites
- A Microsoft Windows based computer (7, 8, 10 supported, Windows 11 is in test) – We do not support Apple devices.
- You will require administrative rights on your computer, if you account is restricted you will need assistance from your IT team (This usually applies to schools and large businesses)
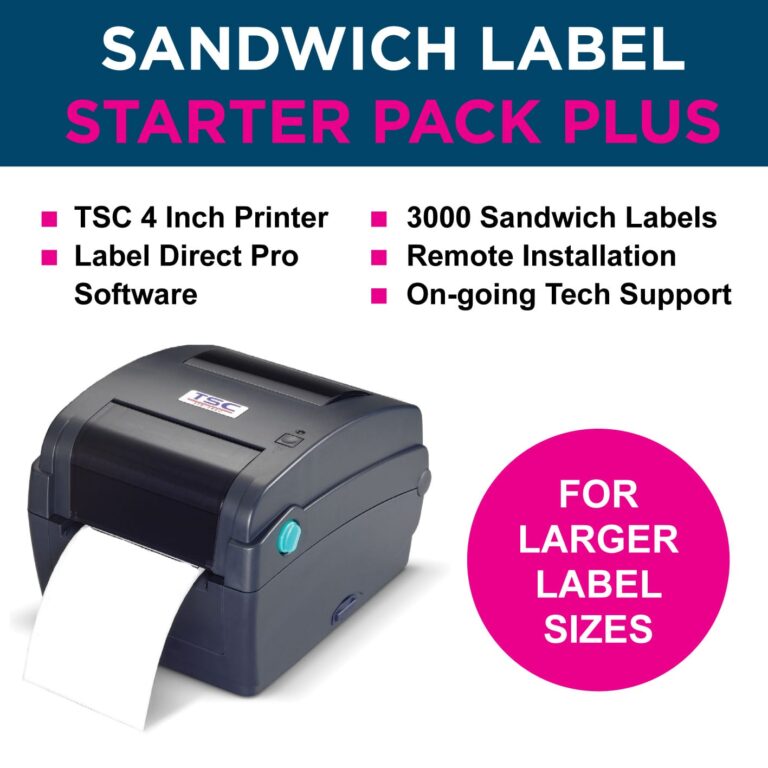
There are 2 TSC printer versions
- Standard (TC200, DA200)
On these the license is held within the software on the computer, so you can print from ONE computer to any number of printers.
- SOLO (T245)
On these the license is held within the printer itself, so you can print from multiple computers to one printer
Both are installed in the same way, but require use of the correct set of drivers and software versions.
Step 1:
NON ‘SOLO’ printers:
Download the appropriate driver package:
https://positiveidlabelling.co.uk/labeldirect/ and select: TSC_2018.2.exe
Download Label Direct:
https://positiveidlabelling.co.uk/labeldirect/ and select: labeldirect_tsc_v4.15.exe
‘SOLO’ printers:
Download the appropriate driver package:
https://positiveidlabelling.co.uk/labeldirect/solo/ and select: SOLO Driver.zip
Download Label Direct:
https://positiveidlabelling.co.uk/labeldirect/solo/ and select: labeldirect_solo.exe
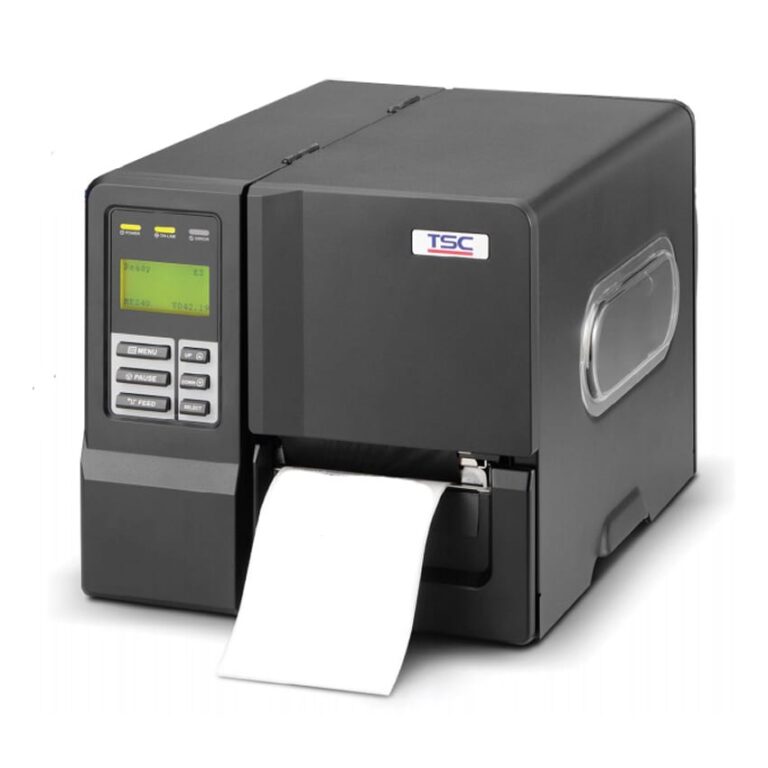
Step 2: Hardware setup
Unpack your printer, if a CD is supplied with it, ignore this for now.
Connect your printer to power and to the computer using the supplied USB cable.
Step 3: Driver Installation
In some cases the driver will automatically be downloaded and installed, but this is rare.
Open Device Manager (in windows 10 right click on the start button and select Device Manager from the popup)
Click on “Software Devices” if your printer model number shows up in here then you need to install the drivers. Run the appropriate driver package downloaded earlier and follow the on-screen instructions. A folder called “Seagull” may be created on your desktop, this can be deleted once installation is complete.
The printer should then move from “Software Devices” to “Printers” in Device Manager. It will also show up under Printers & Scanners in Control Panel/Settings.
Great! Now let’s install some software…
Step 4: Software installation
Run the appropriate installation package (labeldirect_tsc_v4.15.exe or labeldirect_solo.exe)
Follow the on-screen installation instructions, select mm when asked, and select your printer when asked.
You should now see 2 new icons on your desktop – Label Direct and Direct Print.
Once installed you may need to restart your computer, this is recommended anyway.
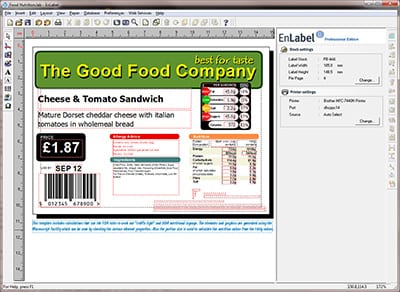
Step 5: Testing
Now you can test that everything is working, open Label Direct, on the right you will see “Printer Settings” , click Change and confirm that your correct printer model and printer driver are selected. Also be sure that your print method (Direct thermal or Thermal Transfer) is correctly set. Now close this popup.
Now click on Help (top bar) and open “Diagnostic Tool”.
At the bottom left of this, click “Get Status” – it should say Ready above the button.
Now you are ready to design and print!


 Expertise and Knowledge
 Customer Focus and Trust
  Speed and Efficiency
  Diverse Product Range
  Advanced encryption keeps your data safe and secure